- Manuals
- Brands
- Launch Manuals
- Scanner
- CReader 3001
- User manual
-
Contents
-
Table of Contents
-
Bookmarks
Quick Links
Related Manuals for Launch CReader 3001
Summary of Contents for Launch CReader 3001
-
Page 1
V1.00.000 2017-08-28… -
Page 2
Copyright Information Copyright © 2019 by LAUNCH TECH CO., LTD. All rights reserved. No part of this publication may be reproduced, stored in a retrieval system, or transmitted in any form or by any means, electronic, mechanical, photocopying and recording or otherwise, without the prior written permission of LAUNCH. -
Page 3
The right is reserved to make change at any time without notice. Neither LAUNCH nor its affiliates shall be liable to the purchaser of this unit or third parties for damages, losses, costs or expenses incurred by purchaser or… -
Page 4
User’s Manual LAUNCH 3001 Keep the test equipment dry, clean, free from oil/water or grease. Use a mild detergent on a clean cloth to clean the outside of the test equipment, when necessary. -
Page 5: Table Of Contents
2.6.2 Non-Continuous Monitors …………10 2.6.3 OBD 2 Reference Table …………16 2.7 DTCs and MIL Status …………….18 3. Product Descriptions ………………20 3.1 Outline of CReader 3001 …………..20 3.2 Specifications ………………21 3.3 Accessories ………………21 4. Connection ………………… 22 4.1 Preparation &…
-
Page 6: Introduction
OBD II test for a complete diagnosis. Featuring the 1.77” color LCD, it enables users to read/clear DTCs, record and save data. The CReader 3001 is also very easy to use. With built-in help menus and code definitions, diagnosing and repairing that dreaded Check Engine Light is now easier than ever! Moreover, CReader 3001 also features the following bi-directional “special tests”:…
-
Page 7
User’s Manual LAUNCH 3001 *Note: Some 1994 and 1995 vehicles have 16-pin connectors but are not OBD2 compliant. Only those vehicles with a Vehicle Emissions Control Label stating “OBD 1I Certified” are OBD2 compliant. -
Page 8: General Information
User’s Manual 3001 LAUNCH 2. General Information 2.1 On-Board Diagnostics (OBD) I *Note: With the exception of some 1994 and 1995 vehicles, most vehicles from 1982 to 1995 are equipped with some type of first generation On-Board Diagnostics. Beginning in 1988, California’s Air Resources Board (CARB), and later the Environmental Protection Agency (EPA) required vehicle manufacturers to include a self-diagnostic program in their on-board computers.
-
Page 9
User’s Manual LAUNCH 3001 components were not setting codes. Some emissions problems related to degraded components only occur when the vehicle is being driven under a load. The emission checks being conducted at the time were not performed under simulated driving conditions. As a result, a significant number of vehicles with degraded components were passing Emissions Tests. -
Page 10: Diagnostic Trouble Codes (Dtcs)
User’s Manual 3001 LAUNCH 2.3 Diagnostic Trouble Codes (DTCs) OBD 2 Diagnostic Trouble Codes are codes that are stored by the on-board computer diagnostic system in response to a problem found in the vehicle. These codes identify a particular problem area and are intended to provide you with a guide as to where a fault might be occurring within a vehicle.
-
Page 11: Location Of The Data Link Connector (Dlc)
User’s Manual 3001 LAUNCH Figure 2-1 2.4 Location of the Data Link Connector (DLC) The DLC (Data Link Connector or Diagnostic Link Connector) is typically a 16-pin connector where diagnostic code readers interface with the vehicle’s on-board computer. The DLC is usually located 12 inches from the center of the instrument panel (dash), under or around the driver’s side for most vehicles.
-
Page 12: Obd 2 Terminology
User’s Manual LAUNCH 3001 For some Asian and European vehicles, the DLC is located behind the ashtray and the ashtray must be removed to access the connector. If the DLC cannot be found, refer to the vehicle’s service manual for the location.
-
Page 13: Obd Ii Monitors
User’s Manual 3001 LAUNCH complete its diagnostic testing are met. The “Trip Drive Cycle” for a particular Monitor begins when the ignition key is turned “On.” It is successfully completed when all the “Enabling Criteria” for the Monitor to run and complete its diagnostic testing are met by the time the ignition key is turned “Off.”…
-
Page 14: Continuous Monitors
User’s Manual 3001 LAUNCH limits. Currently, fifteen Monitors are supported by OBD2 systems. Additional monitors may be added as a result of Government regulations as the OBD2 system grows and matures. Not all vehicles support all fifteen Monitors. Additionally, some Monitors are supported by “spark ignition”…
-
Page 15: Non-Continuous Monitors
User’s Manual 3001 LAUNCH 2. Fuel System Monitor This Monitor uses a Fuel System Correction program, called Fuel Trim, inside the on-board computer. Fuel Trim is a set of positive and negative values that represent adding or subtracting fuel from the engine. This program is used to correct for a lean (too much air/not enough fuel) or rich (too much fuel/not enough air) air-fuel mixture.
-
Page 16
User’s Manual LAUNCH 3001 generates a varying voltage of up to one volt, based on how much oxygen is in the exhaust gas, and sends the signal to the computer. The computer uses this signal to make corrections to the air/fuel mixture. If the exhaust gas has a large amount of oxygen (a lean air/fuel mixture), the oxygen sensor generates a “low”… -
Page 17
User’s Manual LAUNCH 3001 more quickly, to bring the vehicle into closed-loop operation as soon as possible. The Oxygen Sensor Heater Monitor is supported by “spark ignition” vehicles only. The Oxygen Sensor Heater Monitor is a “Two-Trip” Monitor. If a fault is found on the first trip, the computer temporarily saves the fault in its memory as a Pending Code. -
Page 18
User’s Manual 3001 LAUNCH 5. EGR (Exhaust Gas Recirculation) System Monitor The Exhaust Gas Recirculation (EGR) system helps reduce the formation of Oxides of Nitrogen during combustion. Temperatures above 2500°F cause nitrogen and oxygen to combine and form Oxides of Nitrogen in the combustion chamber. -
Page 19
User’s Manual LAUNCH 3001 7. Secondary Air System Monitor When a cold engine is first started, it runs in open-loop mode. During open-loop operation, the engine usually runs rich. A vehicle running rich wastes fuel and creates increased emissions, such as carbon monoxide and some hydrocarbons. -
Page 20
User’s Manual 3001 LAUNCH 9. NOx Adsorber Monitor NOx aftertreatment is based on a catalytic converter support that has been coated with a special washcoat containing zeolites. NOx Aftertreatment is designed to reduce oxides of nitrogen emitted in the exhaust stream. The zeolite acts as a molecular “sponge”… -
Page 21: Obd 2 Reference Table
User’s Manual 3001 LAUNCH and saves the code in its long-term memory. 12. PM Filter Monitor The particulate matter (PM) filter removes particulate matter from the exhaust stream by filtration. The filter has a honeycomb structure similar to a catalyst substrate, but with the channels blocked at alternate ends.
-
Page 22
User’s Manual LAUNCH 3001 Name of Monitor Continuous Misfire Monitor 3 — similar Continuous (Type 1 and 3) conditions Misfire Monitor 3 — similar Continuous (Type 2) conditions Fuel System 1 or 3 — similar Continuous Monitor conditions Catalytic Once per trip… -
Page 23: Dtcs And Mil Status
User’s Manual 3001 LAUNCH Exhaust Gas Once per trip 3 trips Sensor Monitor PM Filter Monitor Once per trip 3 trips 2.7 DTCs and MIL Status When the vehicle’s on-board computer detects a failure in an emissions-related component or system, the computer’s internal diagnostic program assigns a diagnostic trouble code (DTC) that points to the system (and subsystem) where the fault was found.
-
Page 24
User’s Manual 3001 LAUNCH The computer sets a Pending DTC, but the MIL is not ordered “On.” “Freeze Frame” data may or may not be saved at this time depending on manufacturer. The Pending DTC is saved in the computer’s memory for later retrieval. -
Page 25: Product Descriptions
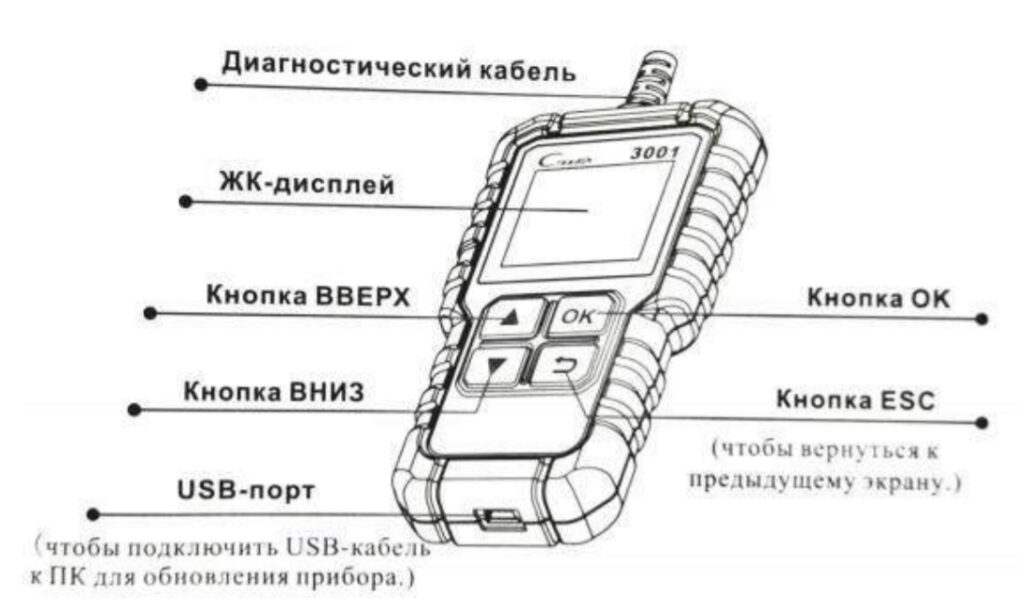
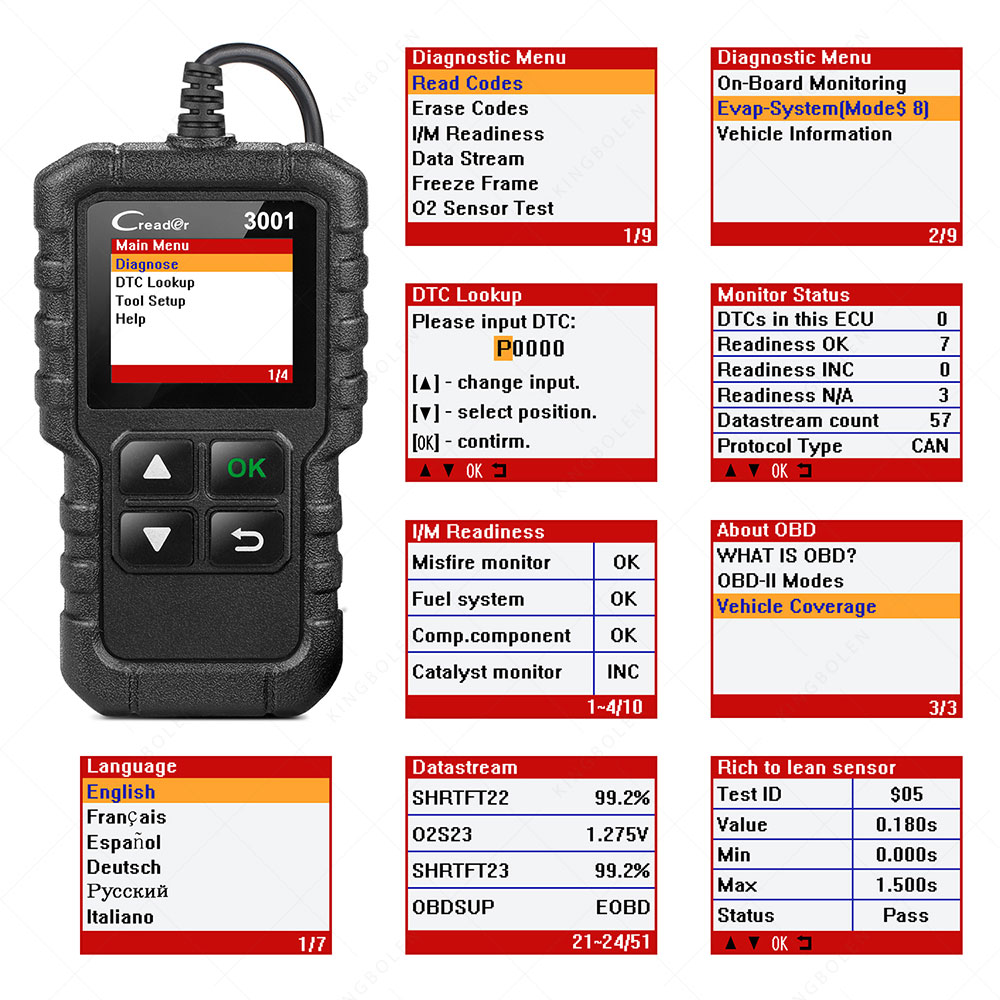
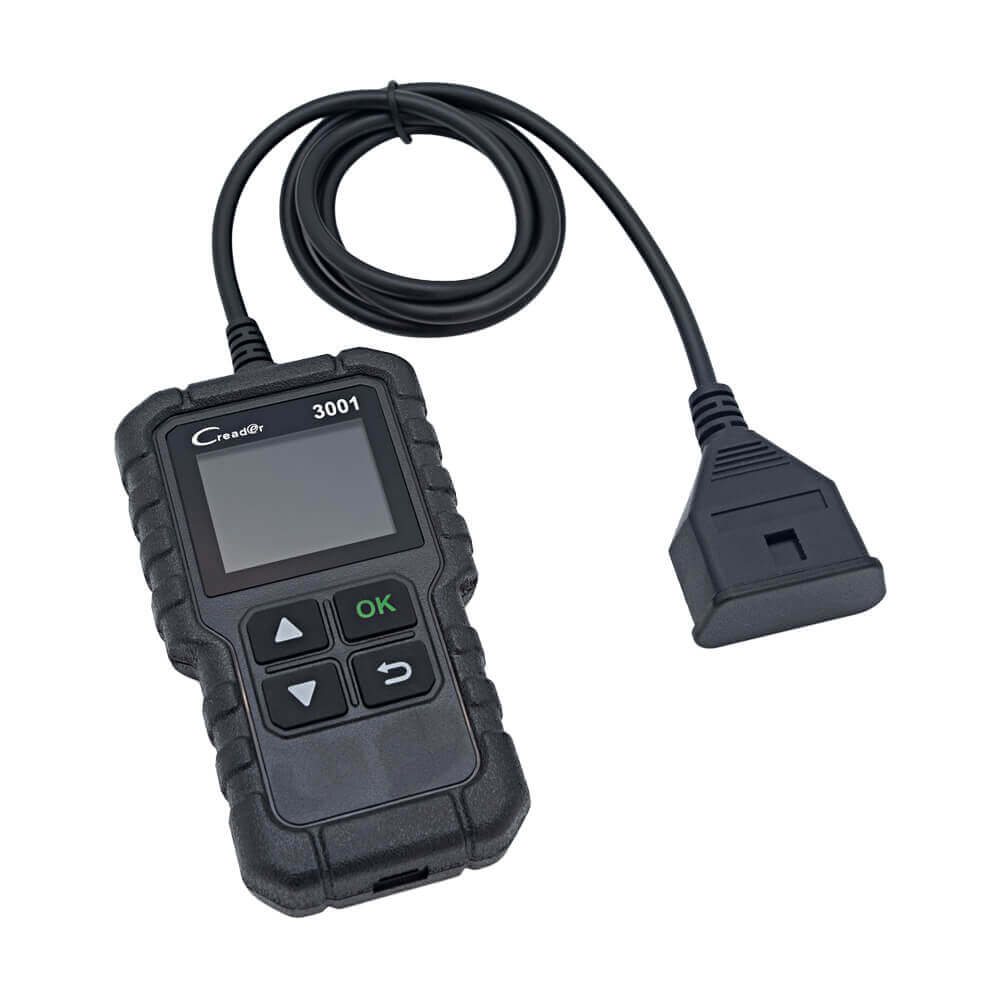
User’s Manual 3001 LAUNCH 3. Product Descriptions 3.1 Outline of CReader 3001 No. Name Descriptions OBD-16 To connect to the vehicle’s DLC (Data Link Connector). connector OK key To confirm the current operation. Back to the previous page. USB port To connect to PC for system update via USB cable.
-
Page 26: Specifications
” color LCD 1.77 Input voltage range: 9~18V Working temperature: 0 to 50°C Storage temperature: -20 to 70°C External Dimension: 118*68*22.3 mm Weight: <200g 3.3 Accessories 1. CReader 3001 handset 2. Quick Start Guide 3. USB cable…
-
Page 27: Connection
User’s Manual LAUNCH 3001 4. Connection 4.1 Preparation & Connection 1. Turn the ignition off. 2. Locate vehicle’s DLC socket: Refer to Chapter 2.2 for the location. 3. Plug the other end of the diagnostic cable into the vehicle’s DLC.
-
Page 28: Settings
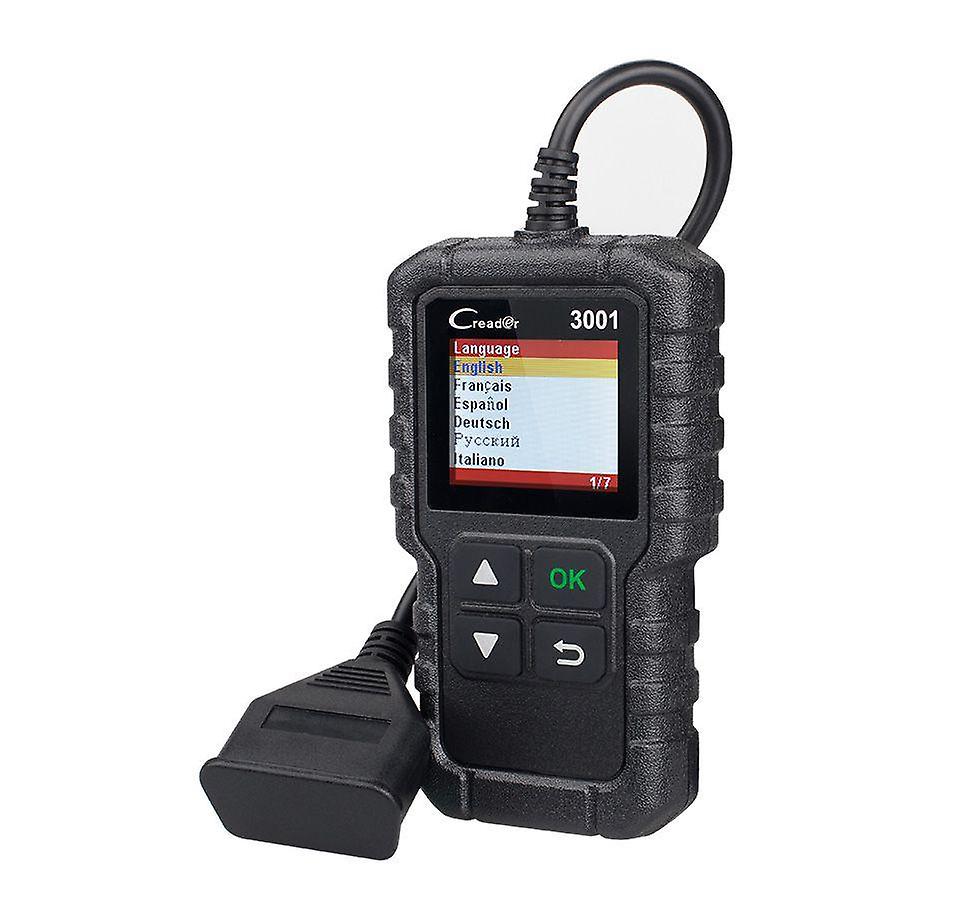
User’s Manual 3001 LAUNCH *CAUTION: Don’t connect or disconnect any test equipment with ignition on or engine running. 4.2 Settings Select [Tool Setup] in the Main menu and press [OK], the system will enter the tool setup screen. 1) Language This option enables you to set the user interface language.
-
Page 29: Diagnose
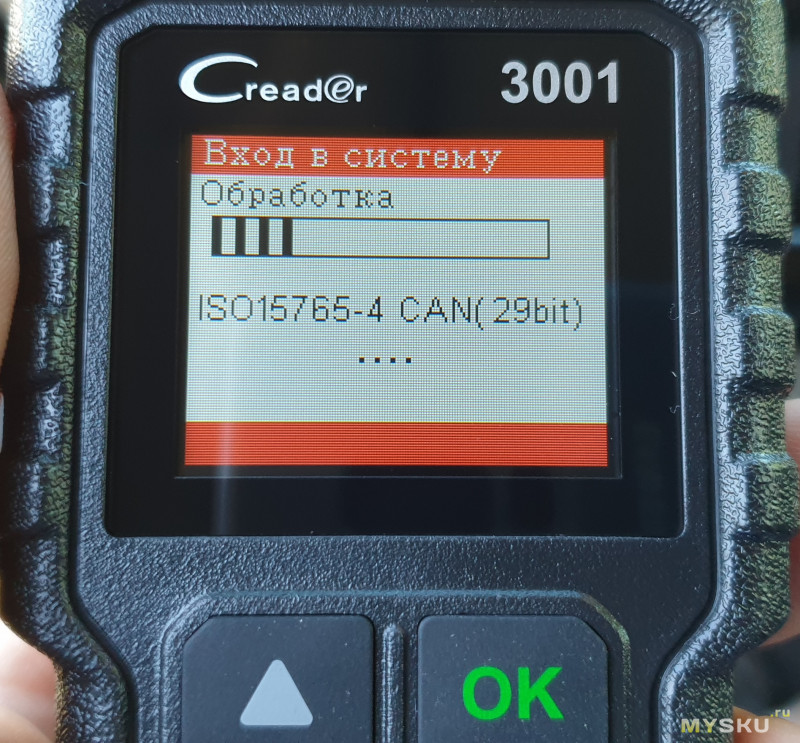
User’s Manual LAUNCH 3001 5. Diagnose After the tool is properly connected to the vehicle’s DLC, select [Diagnose] in Main Menu and press [OK]. The tool will automatically start a check of the vehicle’s computer to determine which type of communication protocol it is using. When the tool identifies the computer’s communication protocol, a communication link is…
-
Page 30
User’s Manual 3001 LAUNCH *Notes: Before performing this function, make sure to retrieve and record the trouble codes. After clearing, you should retrieve trouble codes once more or turn ignition on and retrieve codes again. If there are still some trouble codes in the system, please troubleshoot the code using a factory diagnosis guide, then clear the code and recheck. -
Page 31
User’s Manual 3001 LAUNCH operating conditions are within predefined limits. Results of these tests are stored in the on-board computer’s memory. The O2 Sensor Test function lets you retrieve and view O2 sensor monitor test results for the most recently completed tests from your vehicle’s on-board computer. -
Page 32: Dtc Lookup
User’s Manual LAUNCH 3001 6. DTC Lookup This menu enables you to view the detailed definition of the retrieved DTC. Select [DTC Lookup] in the Main Menu and press [OK], the screen will display the interface as shown below: Press [ ] to alter the value. Press [ ] to switch to different position. After you input the DTC, press [OK] to view its detailed definition of the DTC.
-
Page 33: Help
User’s Manual 3001 LAUNCH 7. Help This menu enables you to view the tool information and the OBD introduction. Select [Help] in the Main menu and then press [OK] to enter the submenu screen. It includes the following options: About OBD: Relevant introduction information about OBD.
-
Page 34: Register & Update
After installation, connect one end of the USB cable to the USB port of PC, and the other end to the tool. Once the tool is powered up, launch the update tool on your computer, the system starts reading the tool. Once it obtains the tool information, it will directly navigate to the update center.
-
Page 35: Faq
User’s Manual 3001 LAUNCH 9. FAQ Here we list some frequently asked questions and answers related to this tool. Question: System halts when reading data stream. What is the reason? Answer: It may be caused by a slackened connector. Please turn off the tool, firmly connect the connector, and switch it on again.
-
Page 36
The exclusive remedy for any automotive meter found to be defective is repair or replacement, and LAUNCH shall not be liable for any consequential or incidental damages. -
Page 37
User’s Manual 3001 LAUNCH Statement: LAUNCH reserves the rights to make any change to product designs and specifications without notice. The actual object may differ a little from the descriptions in the manual in physical appearance, color and configuration. We have tried our best to make the descriptions and illustrations in the manual as accurate as possible, and defects are inevitable.
Описание
Характеристики
Отзывы о товаре
Фотогалерея
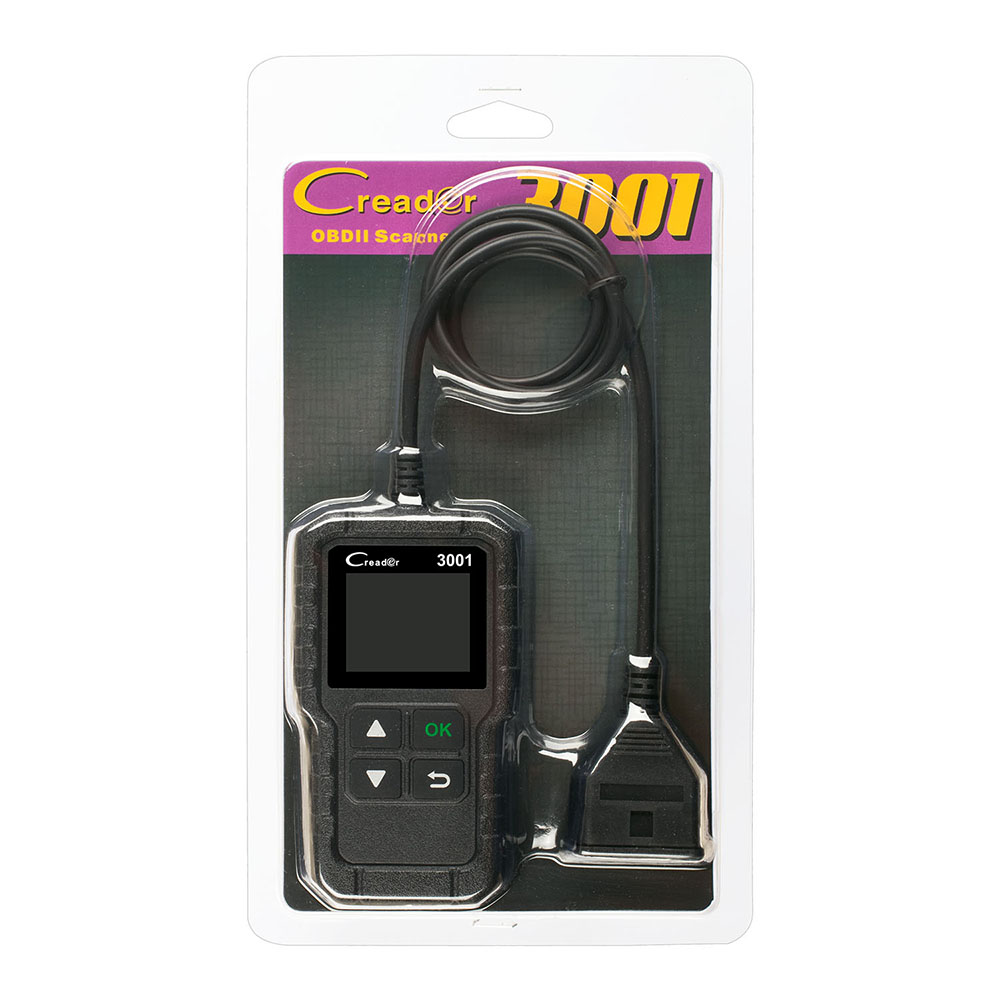
Автомобильный диагностический сканер кодов OBD II Creader CR3001 – это компьютерная диагностика в вашем кармане или в бардачке! Удобный, легкий, функциональный прибор, который моментально покажет коды ошибок от датчиков вашего автомобиля. Работает со всеми современными автомобилями имеющими разъем OBDII. Для пользования устройством не потребуется никаких дополнительных устройств типа компьютера ли мобильного телефона. Это полнофункциональный и самодостаточный автосканер OBDII, просто подключаете его в разъем, включаете и получаете всю необходимую информацию о состоянии вашего авто. Это поможет вам предотвратить серьезные поломки и сэкономит значительные деньги.
Creader 3001 может считывать, отображать и стирать коды неисправностей, а также проводить дополнительные тесты (проверка состояния автомобиля, чтение потока данных, просмотр «стоп-кадра» различных диагностических данных, тест датчика кислорода, специальный тест бортовых систем автомобиля, чтение информации об автомобиле и другие)
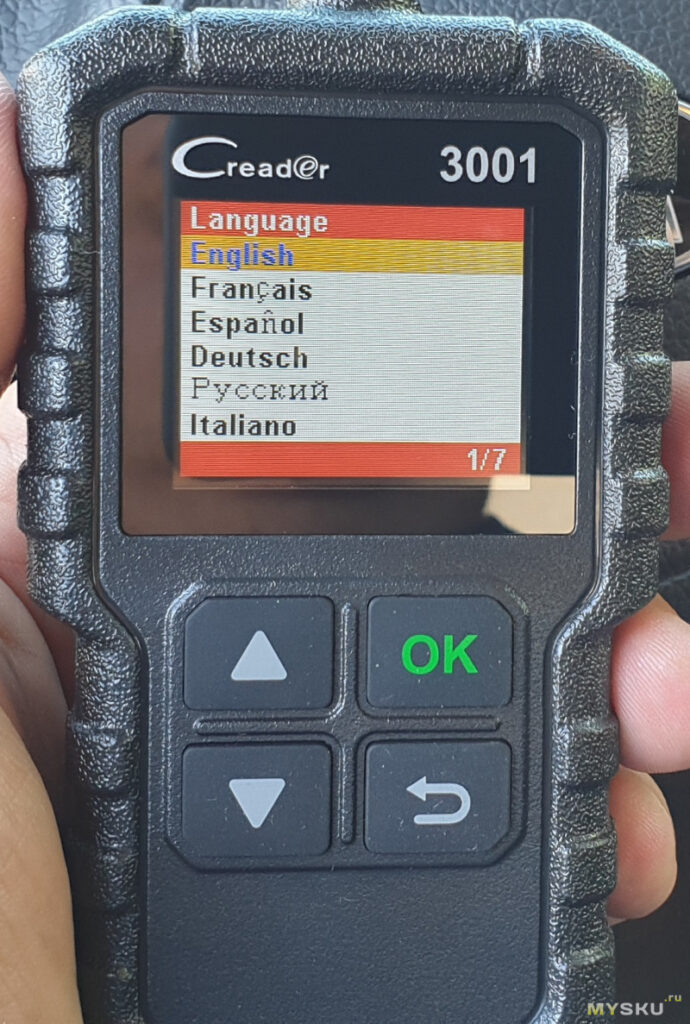
Поддерживается Русский язык, а также: английский, французский, испанский, немецкий, итальянский, португальский
Поддерживаемые автомобили
- Американские автомобили выпущенные с 1996 года
- Европейские автомобили выпущенные с 2001 года
- Азиатские автомобили выпущенные с 2003 года
- Японские автомобили выпущенные для европейского рынка с 2003 года (леворульные)
- Отечественные автомобили поддерживающие OBDII
Обратите внимание – список показывает годы, с которых все марки стали комплектоваться разъемами OBDII. вполне возможно, что модель вашей машины, выпущенная ранее, также поддерживает работу с автомобильным диагностическим сканером кодов OBD II Creader CR 3001. Вам нужно убедиться в наличии разъема OBDII под передней панелью.
Вы можете обновить свой прибор с помощью USB-кабеля. Посетите интернет-сайт Http://www.x431.com/CR3001 и загрузите средство обновления на компьютер.
Подключение к автомобилю производится с помощью прочного кабеля. Вы сможете узнать в режиме реального времени, при включенном двигателе, такие показатели как содержание CO2, обороты, состояние системы охлаждения и еще около 3000 параметров.
Creader 3001 может считывать, отображать и стирать коды неисправностей, прибор полностью русифицирован и ошибки также отображаются на русском языке.
Creader 3001 проводит диагностику только по блоку двигателя, других систем автомобиля (АКПП, подушки безопасности, ABS) он не видит.
Сканер выполняет следующие функции
Чтение из памяти ЭБУ кодов неполадок и отображение их описаний
Чтение и очистка памяти кодов неполадок, в том числе и многих OEM кодов
Графическое отображение диагностических данных
Отображение параметров датчиков на момент появления неполадки и возникновения сигнала «Check Engine»
Деактивация индикатора «Check Engine»
Чтение готовности блоков управления и информации о транспортном средстве
считывания vin-кода
проверка системы улавливания паров бензина в баке
Сохранение максимум до 38 данных результатов сканирования для последующего анализа
Печать полученных данных через внешнее печатающее устройство
Нет в наличии!
1890 руб.
2200 руб.
Посмотрите видеообзор
Технические характеристики:
Экран: 1,77 » TFT, 160*128 точек/дюйм
Диапазон напряжения: 9-18 В
Рабочая Температура: 0℃ -50 ℃ (32 ℉ -122 ℉ )
Температура окружающей среды:-20 ℃ -70 ℃ (-4 ℉ -158 ℉ )
Размер: 118 мм * 68 мм * 22,3 мм (4,65″ * 2,68 » * 0,88 » )
Вес: <200 г
Поддержка автомобилей:
Американский рынок:
Требуется стандарт OBD2 машины с 2000 г. по н.в.
Chrysler, Ford, GM, Jeep
Европейский рынок:
Требуется стандарт OBD2 машины с 2003 г. по н.в.
Alfa romeo, SAAB, Acura, Opel, Audi, Пежо, Рено
Bentley, Skoda, Daewoo, Benz, Daihatsu, Land Rover, BMW, Vauxhall, Citroen, Volvo, Fiat, VW, Ford, Jaguar
Японского автомобиля:
Требуется стандарт OBD2 машины c 2005 г. по н.в
KIA, Isuzu, Honda, Mitsubishi, hyundai, Dacia, Lexus, Mazda, Nissan, Subaru, Suzuki, Toyota
Китайские машины:
Требуется стандарт OBD2 машины с 2009 по н.в
Добрый день! Я публикую свой первый обзор, находясь под положительным впечатлением от полученного прибора, поэтому прошу особо сильно не критиковать.
Считаю, что каждый автомобилист сталкивался или неизбежно столкнется с такой неприятностью, как загоревшийся на приборной панели индикатор «Check Engine». На своём опыте я переживал эту невзгоду не раз, когда был обладателем старенького «Subaru». Да, автомобиль ехал, «чек» гасился скидыванием клеммы с аккумулятора, но неприятное чувство того, что присутствует какая-то неисправность глодало душу. Для цели диагностики и сброса ошибок я приобретал OBD-II Bluetooth тестер типа ELM-327. Но такая штука была для меня крайне неудобной, потому что теряла связь, требовала наличия смартфона с установленным софтом, а сам софт обладал ограниченным функционалом бесплатной версии. Сейчас же, став обладателем нового автомобиля «KIA Optima TF FL», я решил, на всякий случай, приобрести более современное, не зависимое от смартфона т беспроводной связи устройство. Мой выбор пал на диагностический прибор Cre@der 3001 от известной китайской компании Launch. Заинтересованных прошу под кат. Будет много фото.
Покупал за свои деньги и для себя. Расчлененки не будет. Заказал 18 апреля, забрал 18 мая. Продавец даже положил подарок — тестер тормозной жидкости.
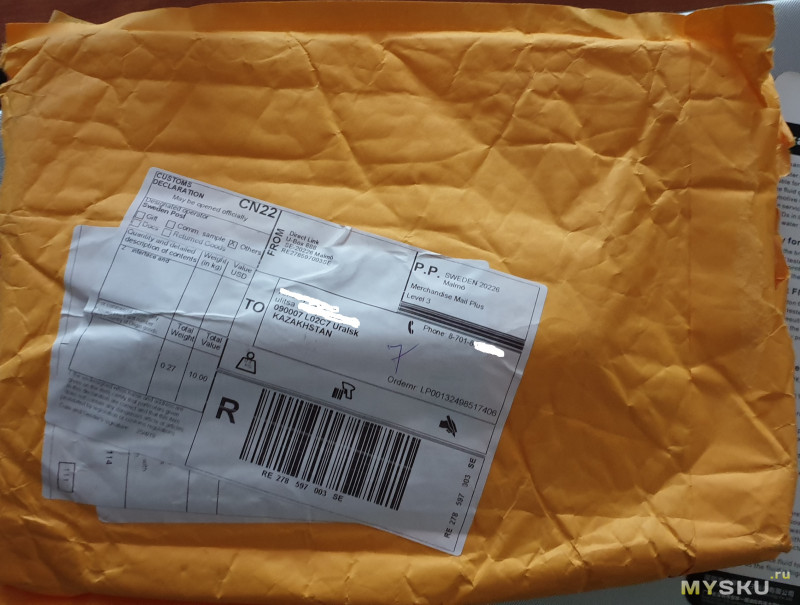
Прибор пришел в стандартном желтом пакете:
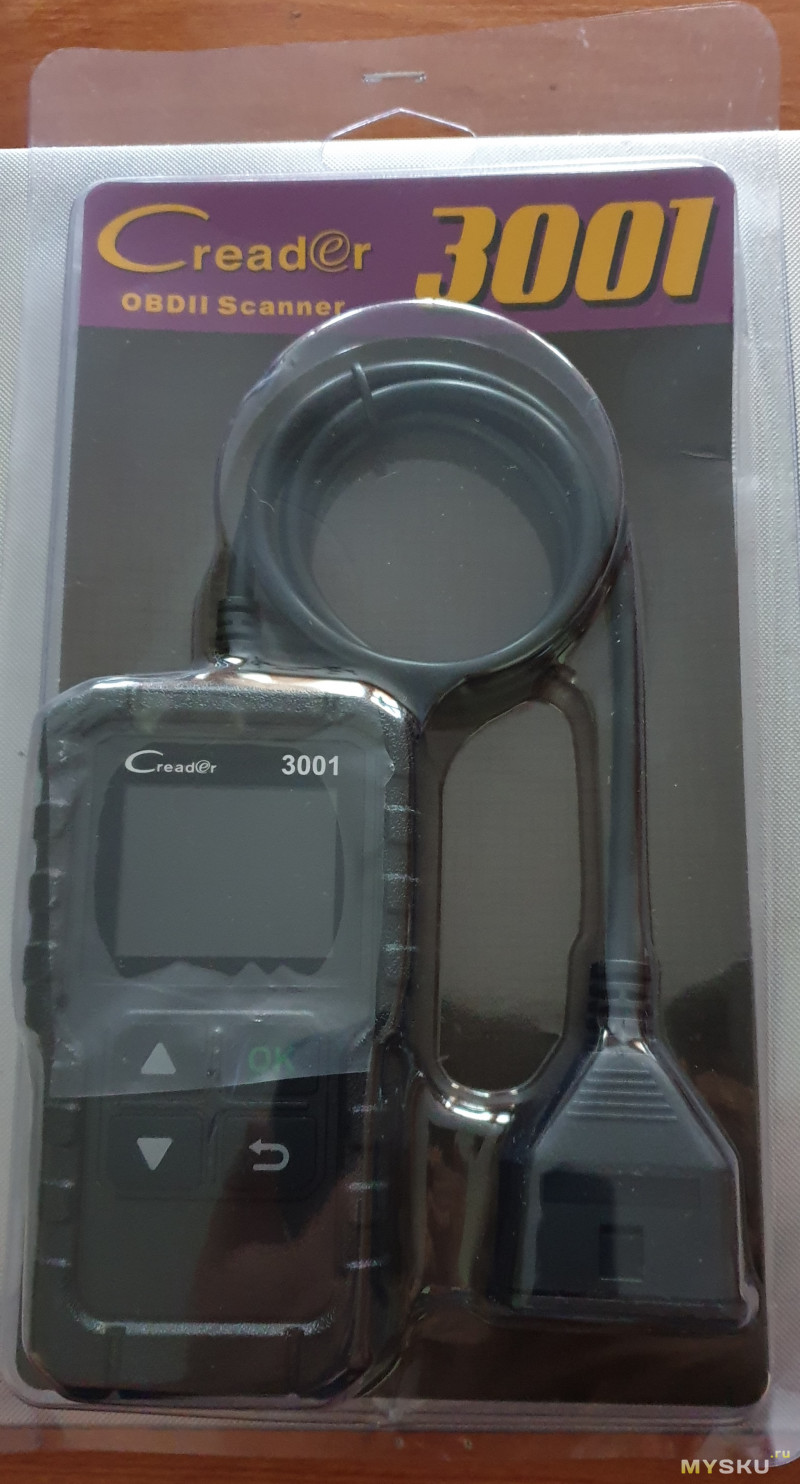
Само устройство было упаковано в пластиковый блистер, уголок немного помялся:
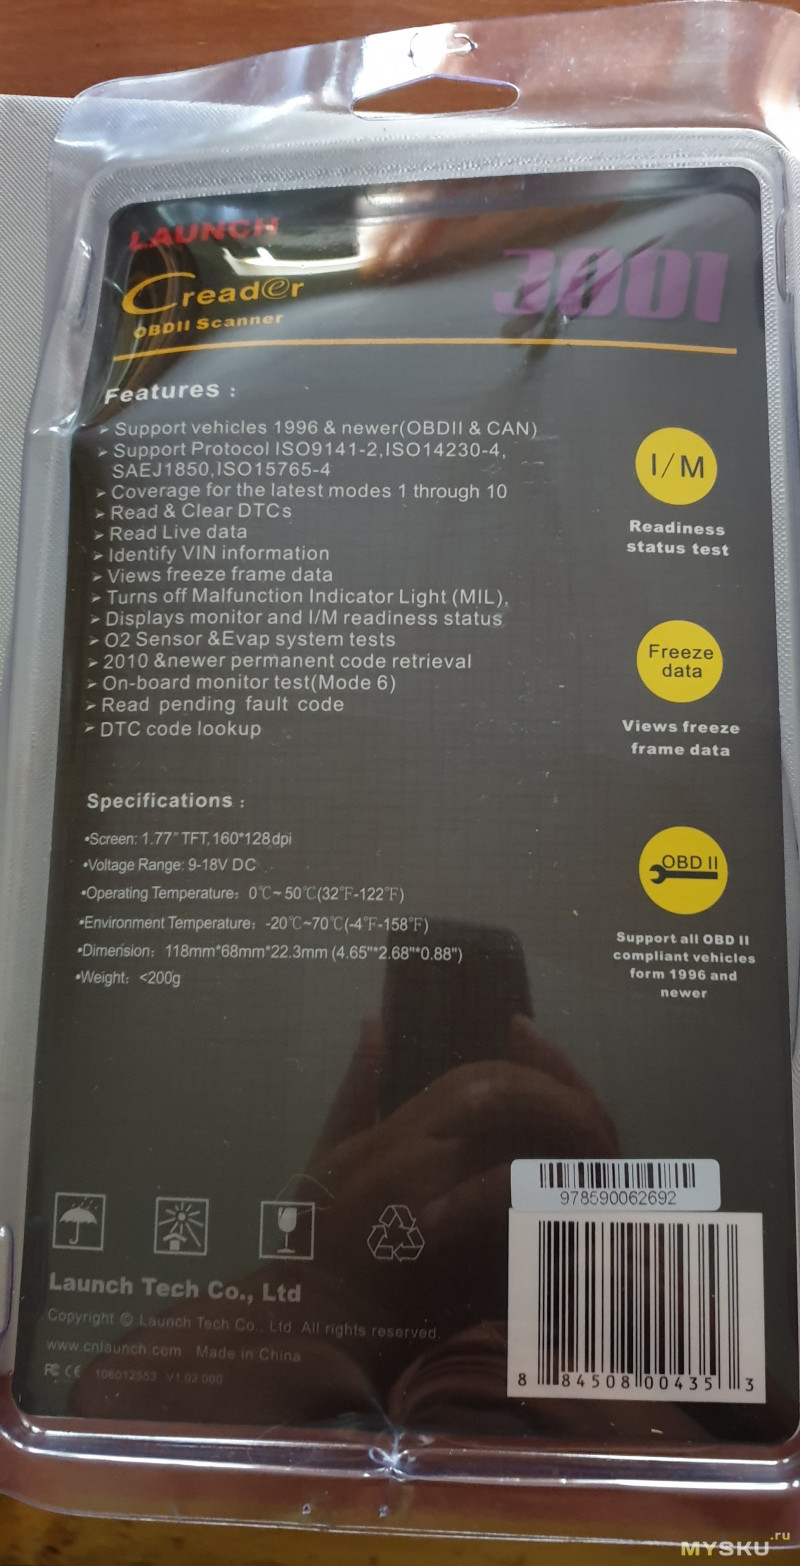
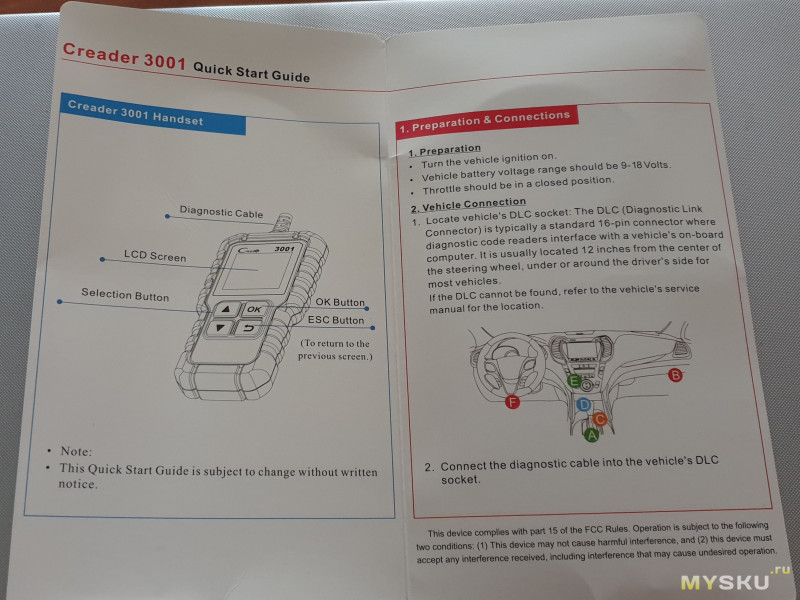
Вложенный картонный разделитель оказался инструкцией на английском, если его раскрыть:
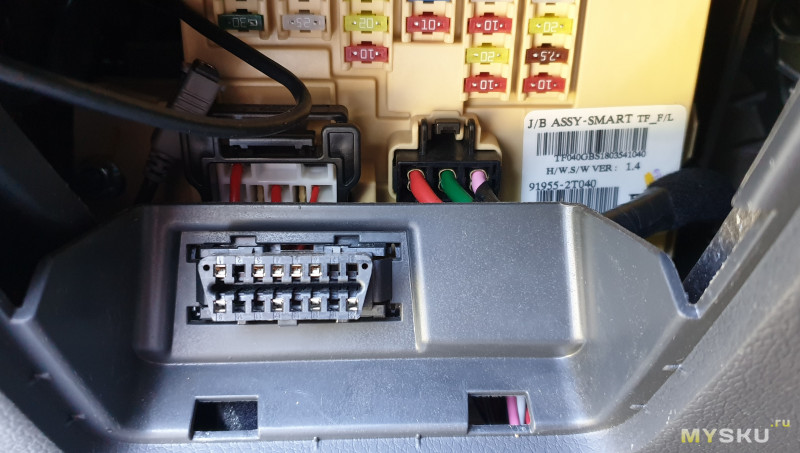
Руки чесались проверить и я пошел подключать прибор к своей Kia Optima TF FL 2015 года выпуска. Хочу сразу заметить, что устройство не имеет собственного источника питания и запитывается от 12 вольт бортовой сети через разъем OBD-II:
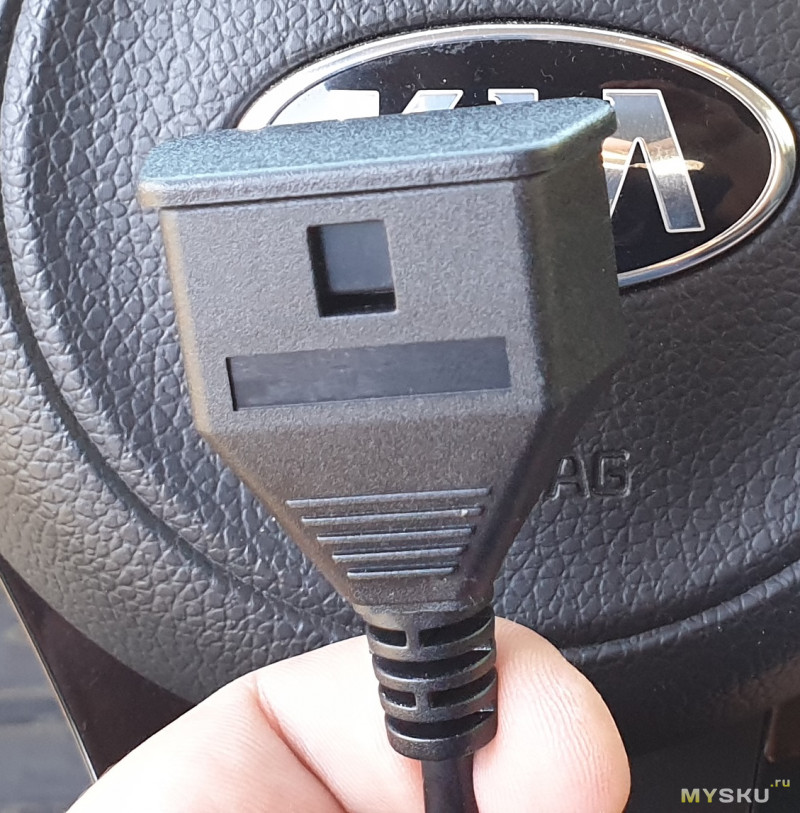
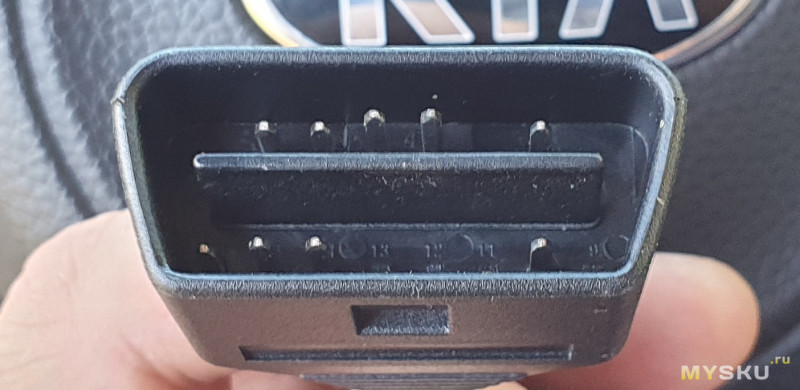
Сам коннектор прибора закрыт крышечкой, под которой имеются пины для питания и передачи данных OBD-II.
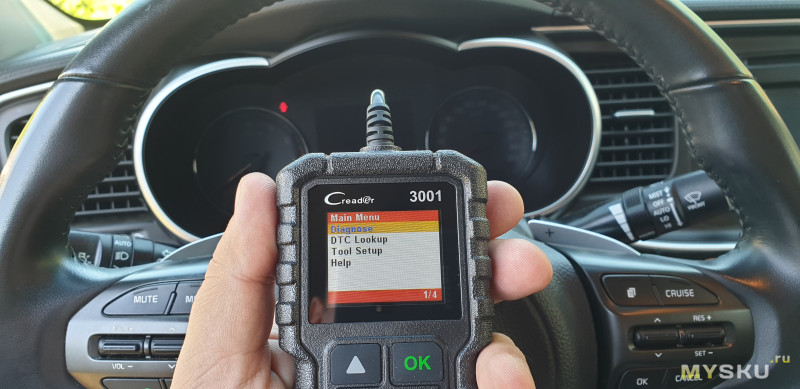
Подключив девайс к разъему без включения зажигания, цветной TFT дисплей прибора ожил и показал первоначальное меню на английском языке:
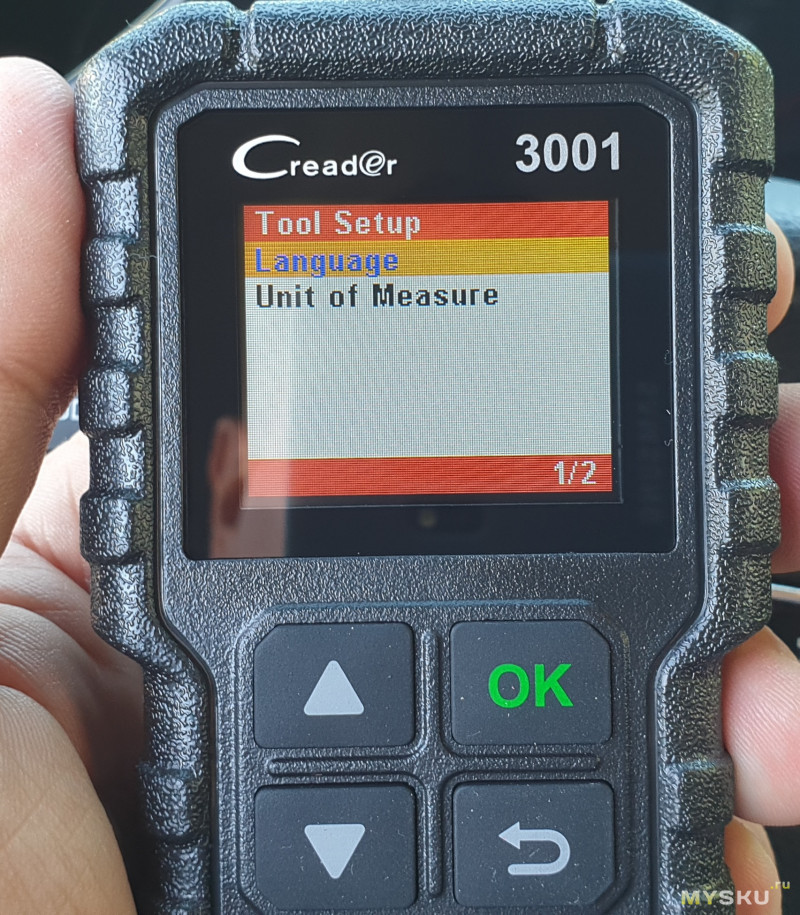
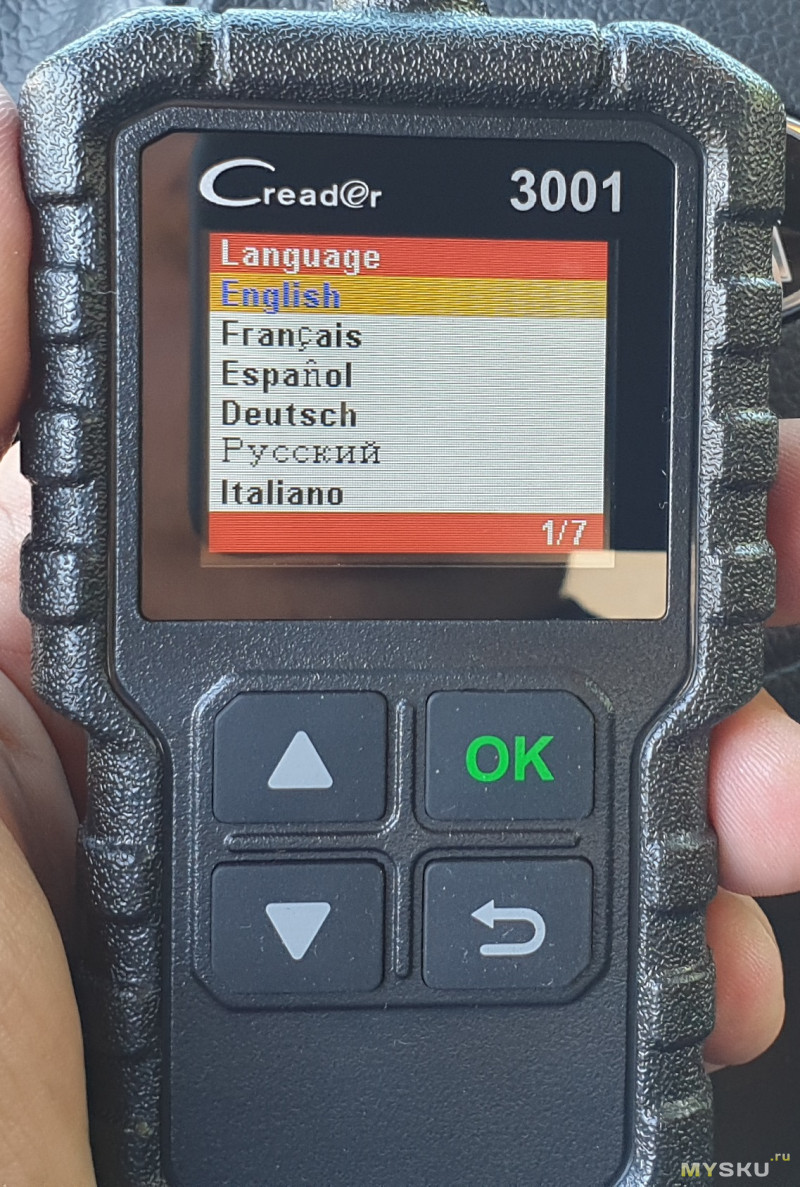
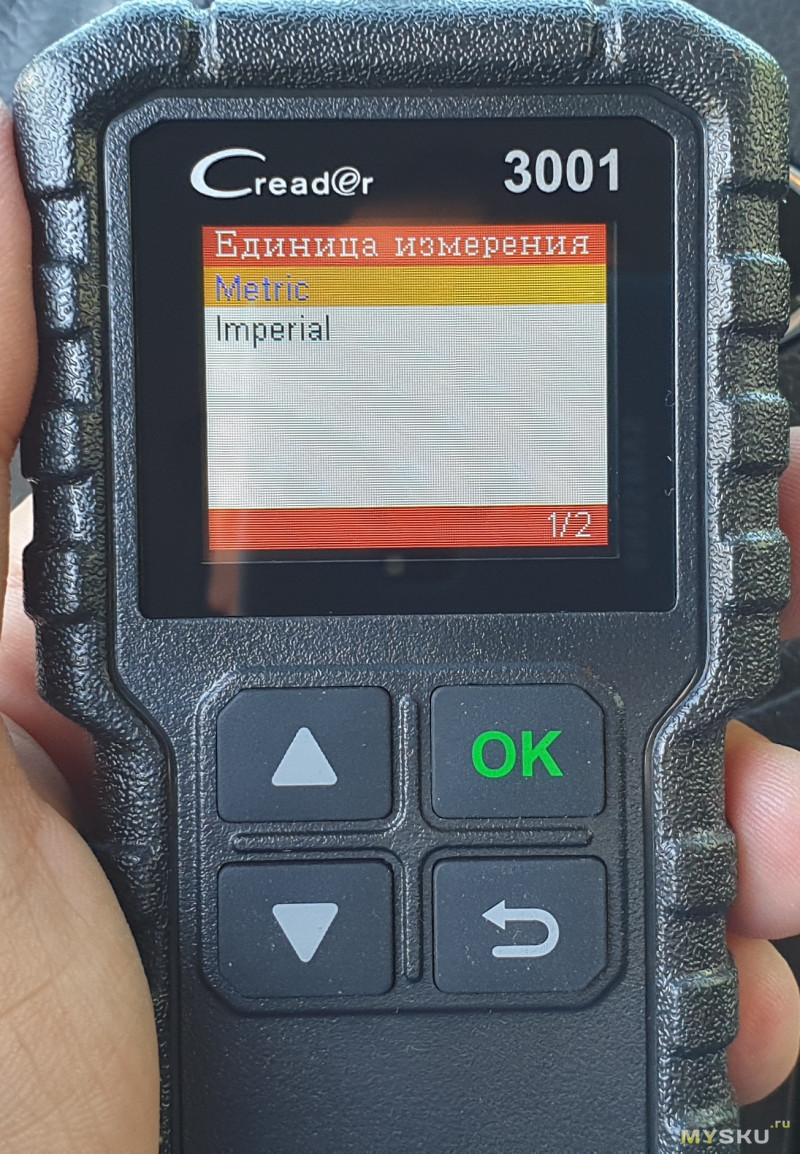
В первую очередь, выбираем русский язык интерфейса и метрическую систему измерения:
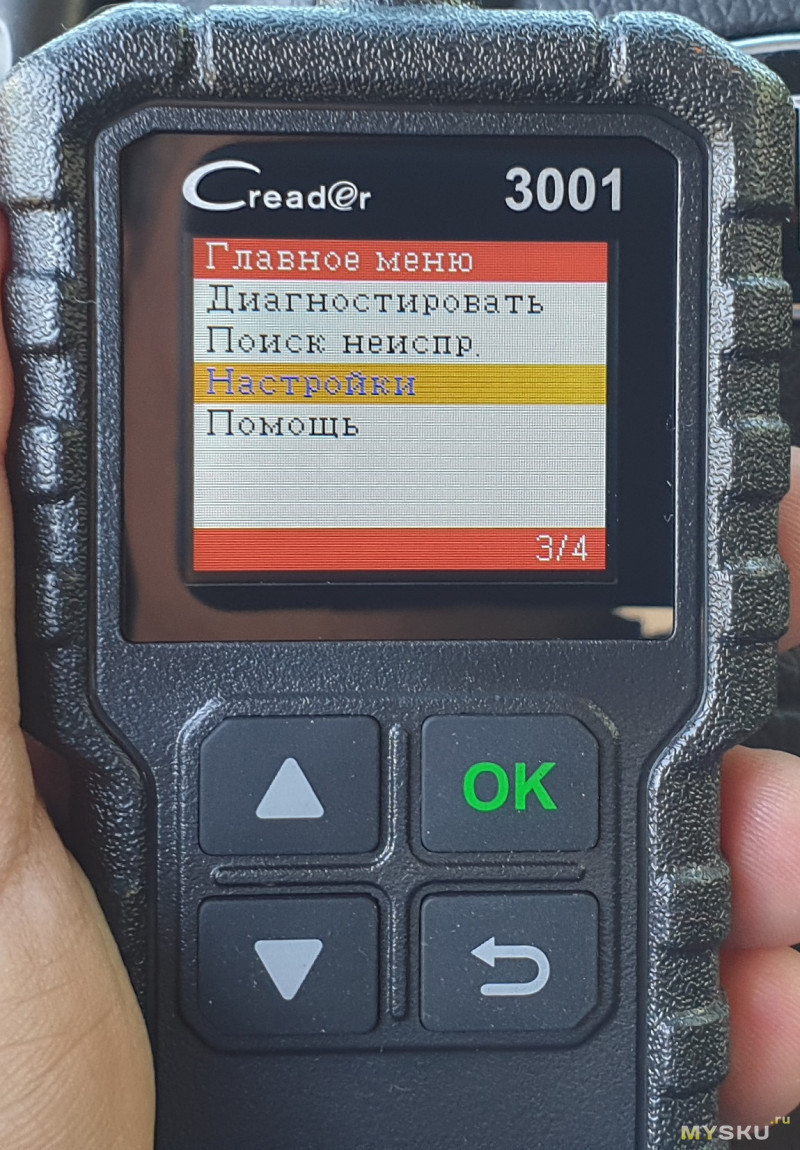
На лицевой панели прибора имеются всего 4 клавиши управления: «Вверх», «Вниз», «ОК» и назад». Выбрав из меню пункт «Диагностировать», прибор начинает подбирать нужный протокол связи из имеющихся в его памяти:
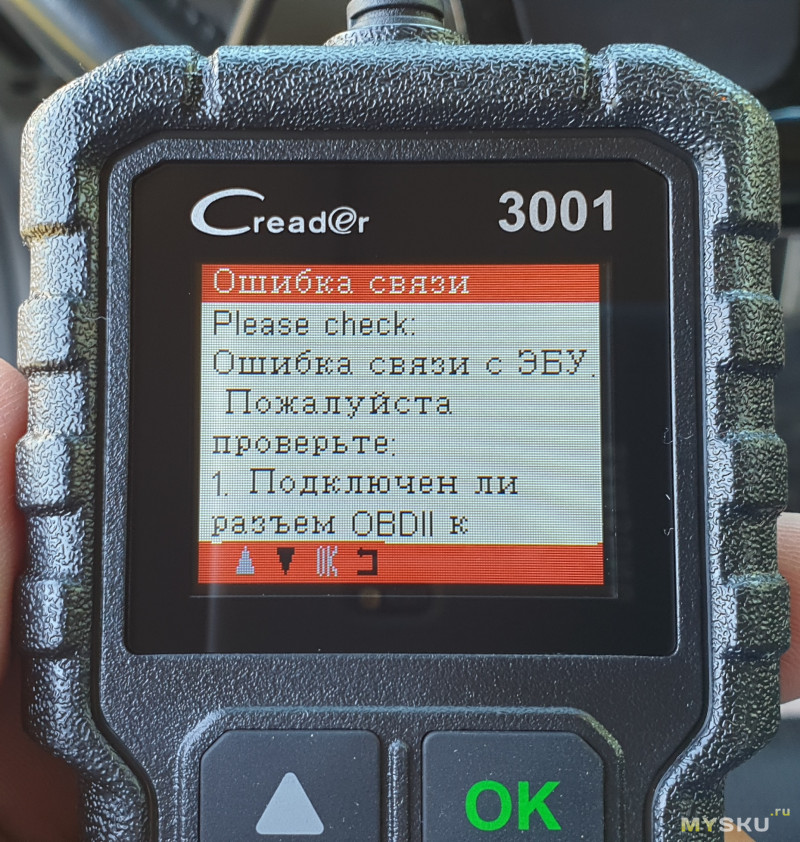
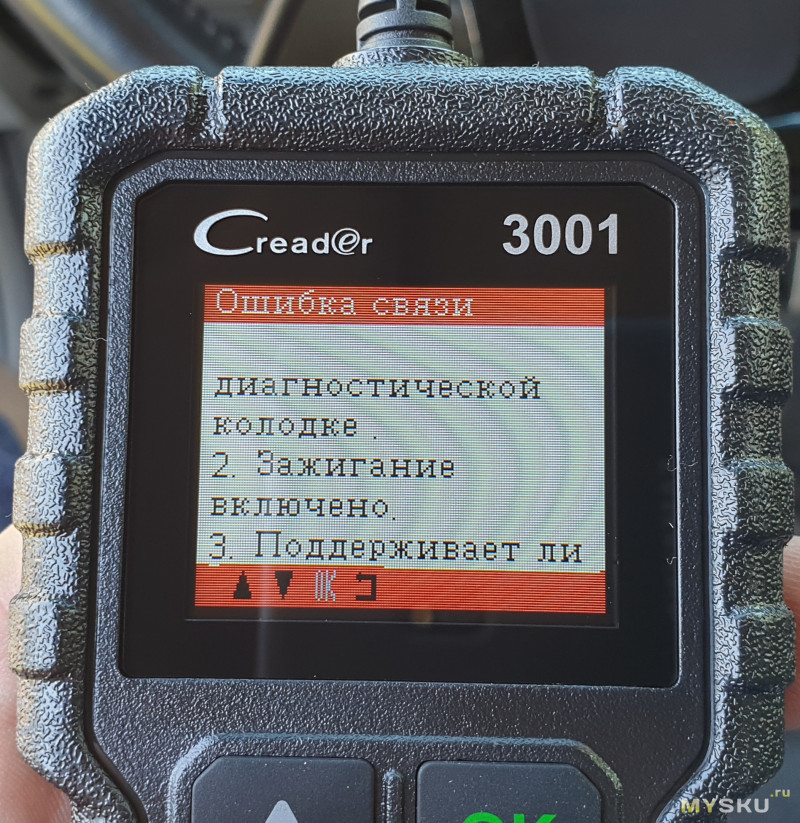
С первой попытки он не смог распознать нужный и ругнулся ошибкой с вариантами возможной причины. В моём случае причина — выключенное зажигание:
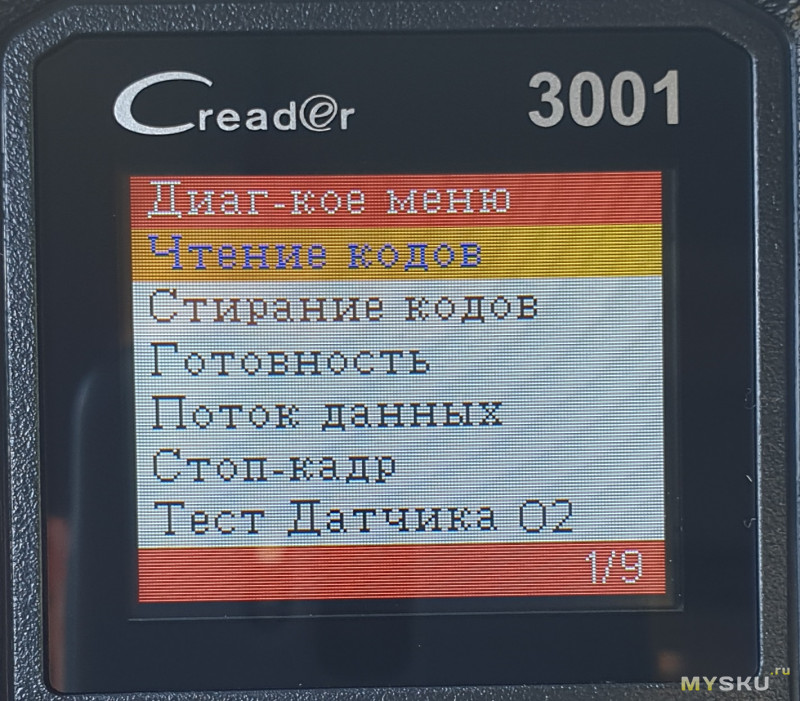
Включив зажигание, я провел процедуру поиска еще раз и теперь мне стали доступны следующие пункты диагностического меню:
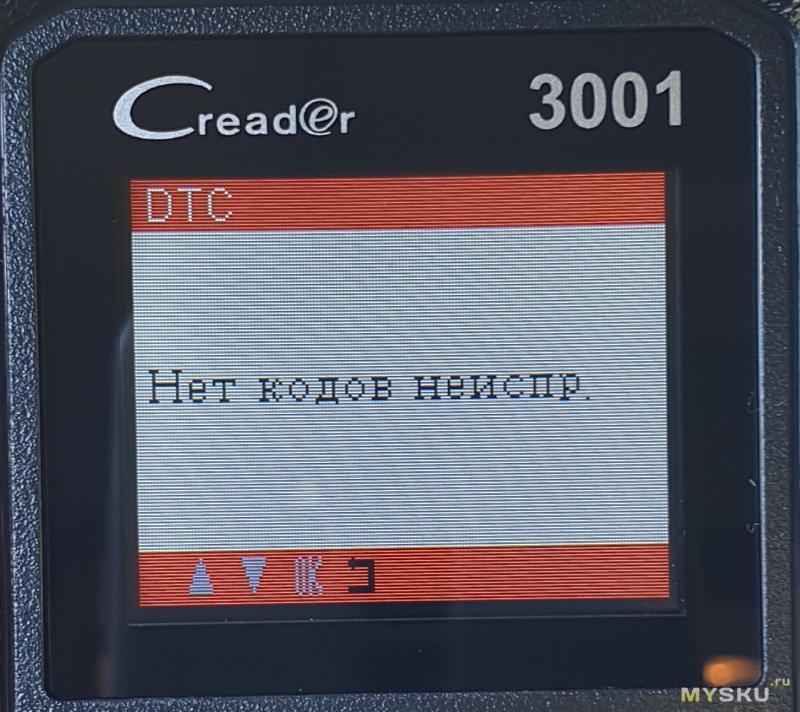
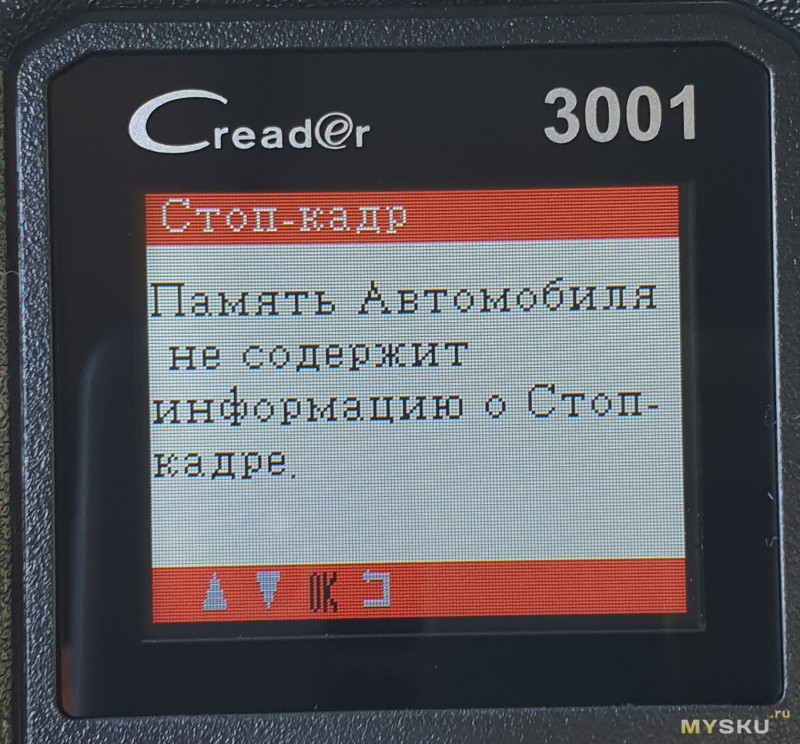
В первую очередь проверил систему на наличие ошибок, коих не оказалось, как и стоп-кадров:
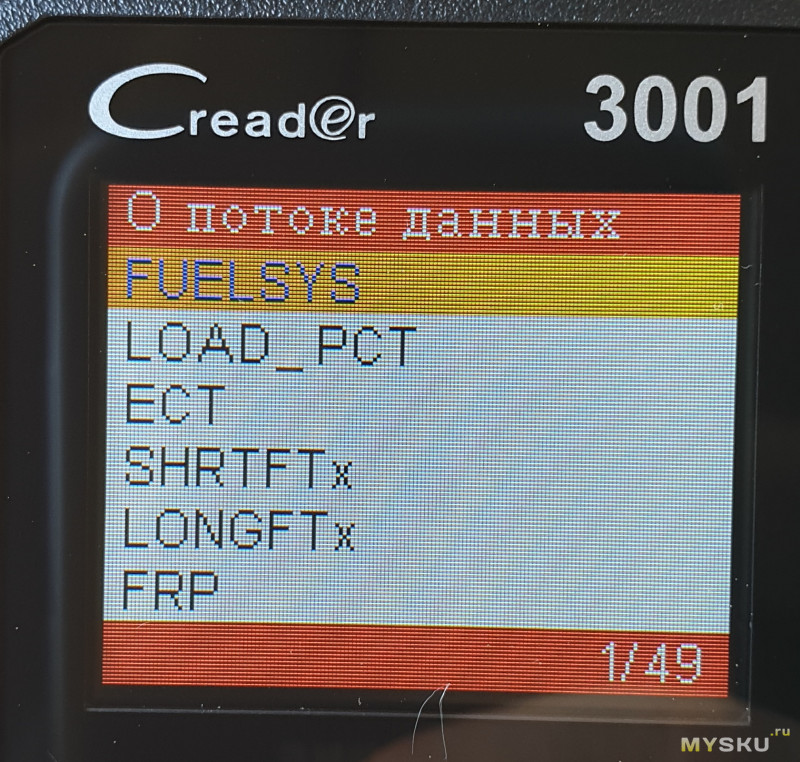
Далее, под спойлер, я хочу загрузить фотографии анализа потока данных шины CAN. Я сознательно не буду расшифровывать значение каждого параметра, так как расшифровка имеется в меню помощи:
Естественно, что поток данных отличается при заведенном двигателе. Но я показал вам только как выглядит отображение информации.
К сожалению, анализ кислородных датчиков для моей машины не поддерживается прибором, о чём меня система предупредила:
Выбрав пункт «Бортовая диагностика», мы получим тест различных параметров двигателя, значения которых мне не известны и прохождение этих тестов анализируется по оценке предельных максимальных значений:
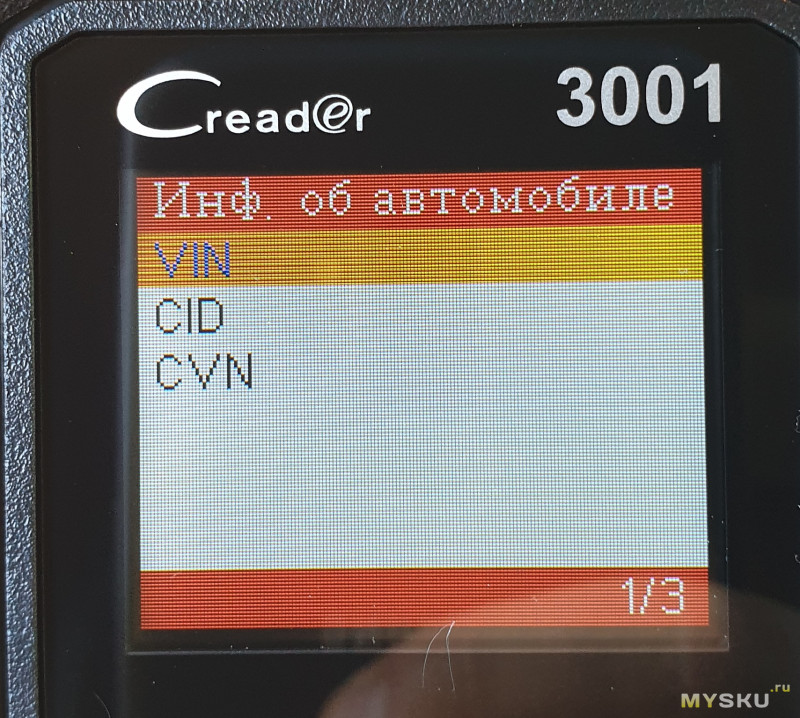
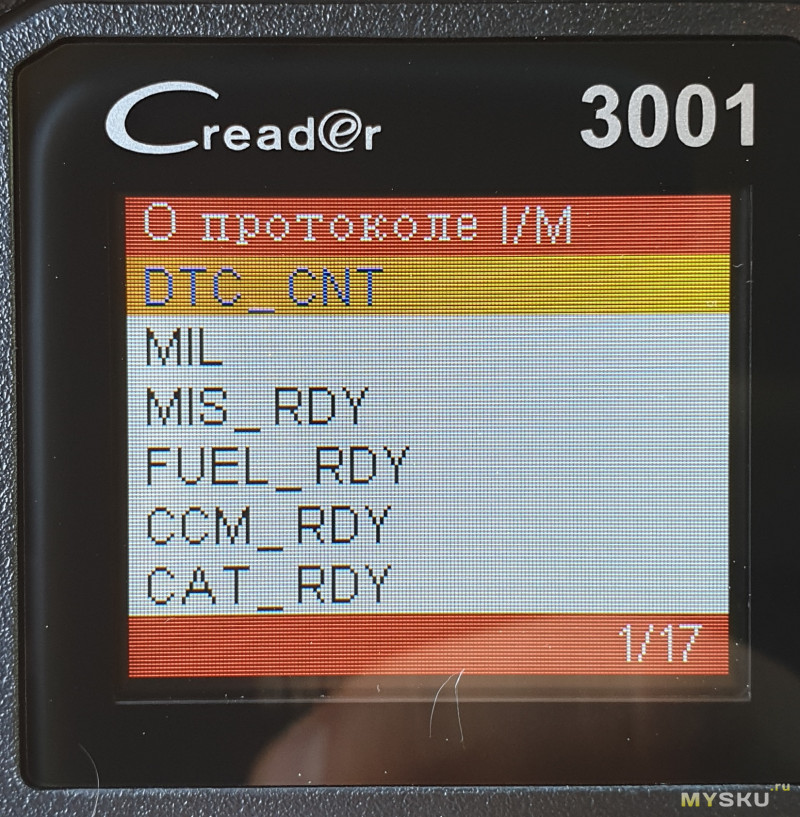
Выбрав пункт «Информация об автомобиле мы попадём в такое подменю:
Ниже — результаты анализа информации о машине:
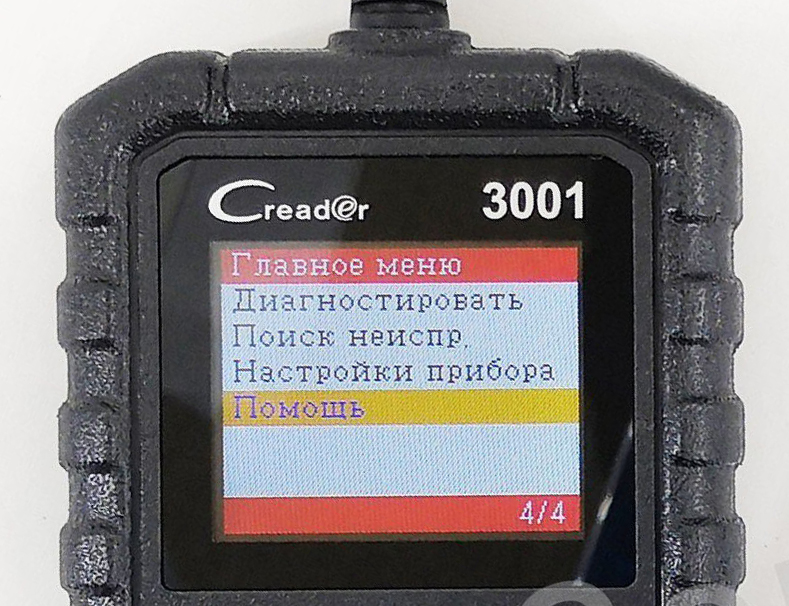
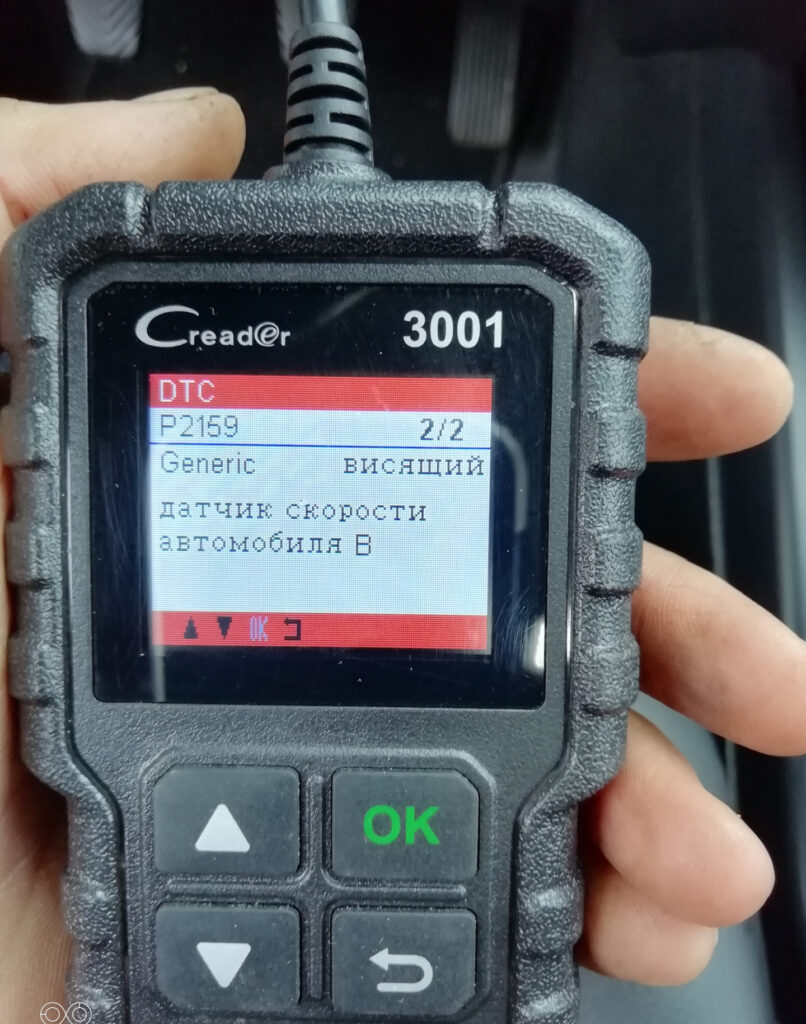
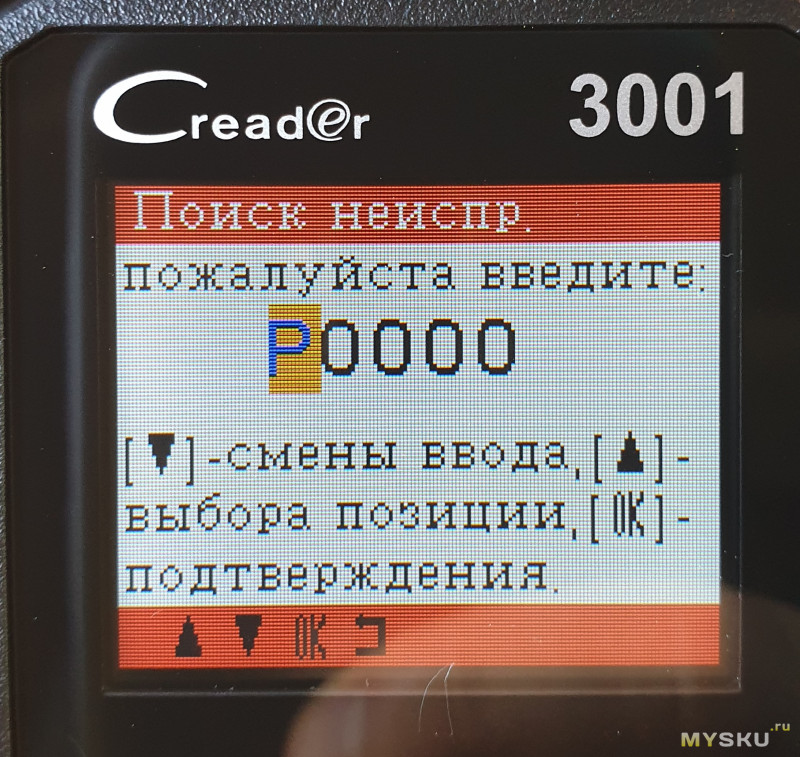
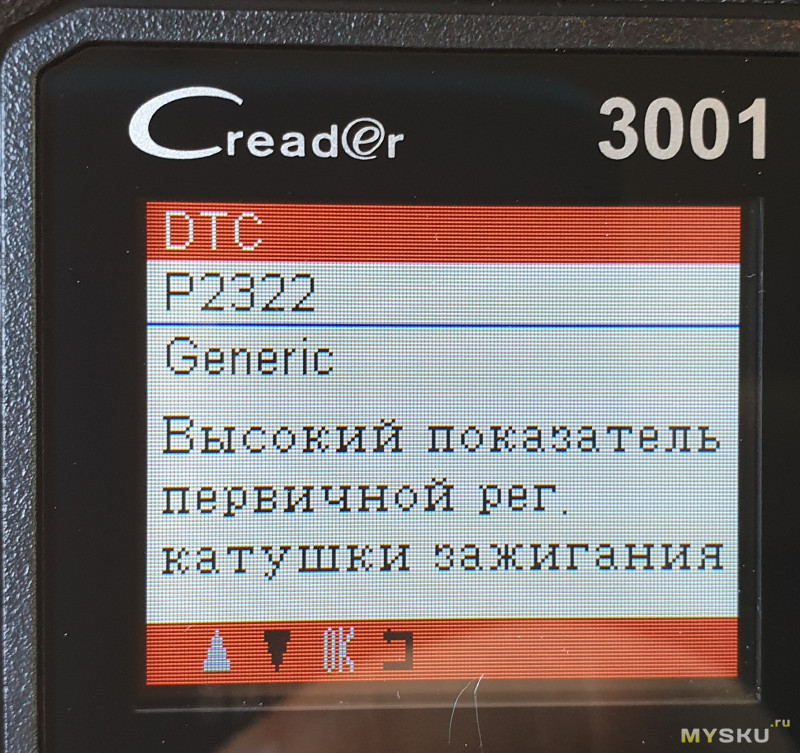
А вот в меню „Поиск неисправности“ можно получить описание ошибки по её номеру, введя код ошибки стрелочками:
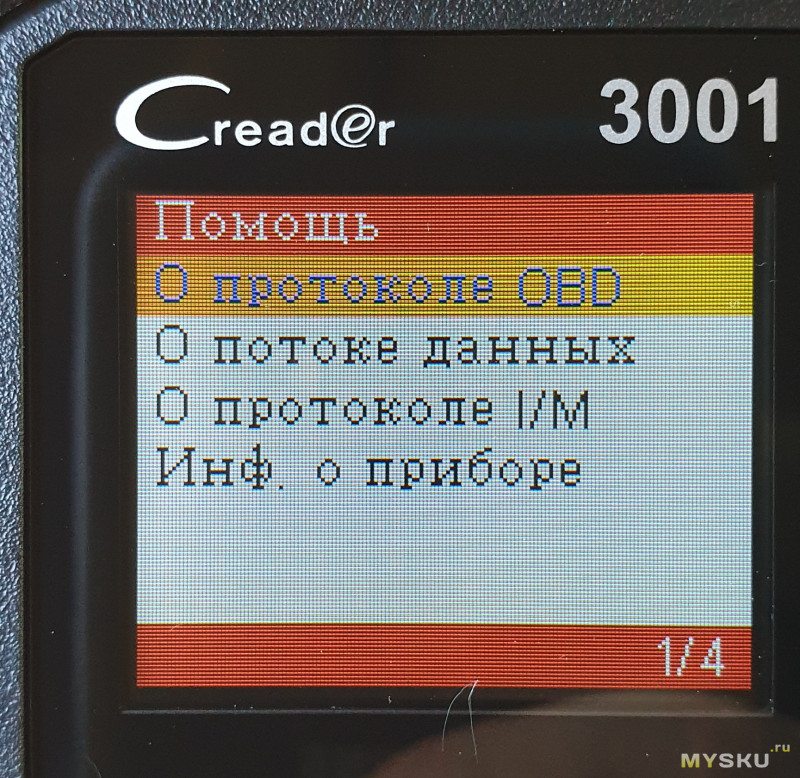
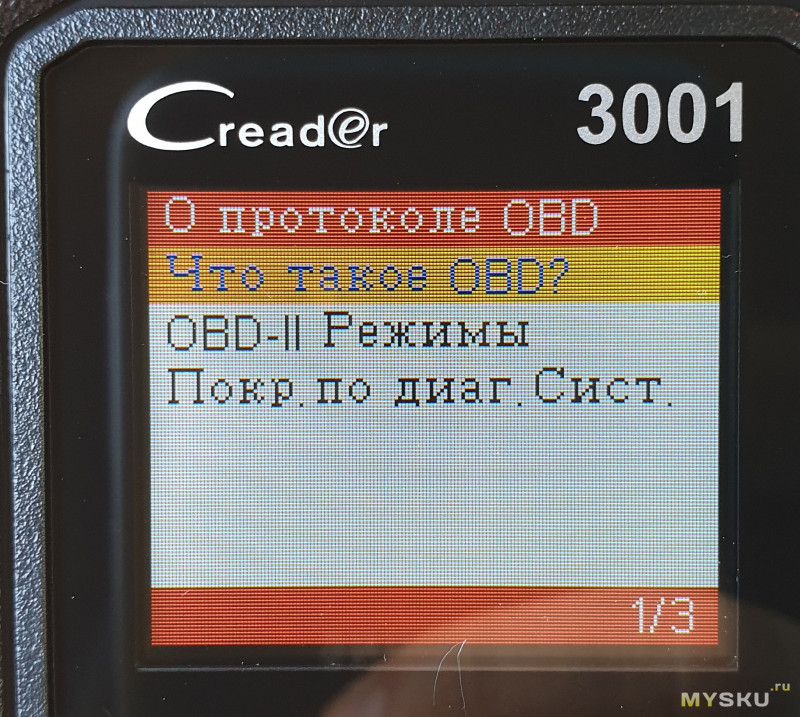
Ну и напоследок, меню „Помощь“, в котором предлагается расшифровка значений потока данных шин:
Дополнительная информация
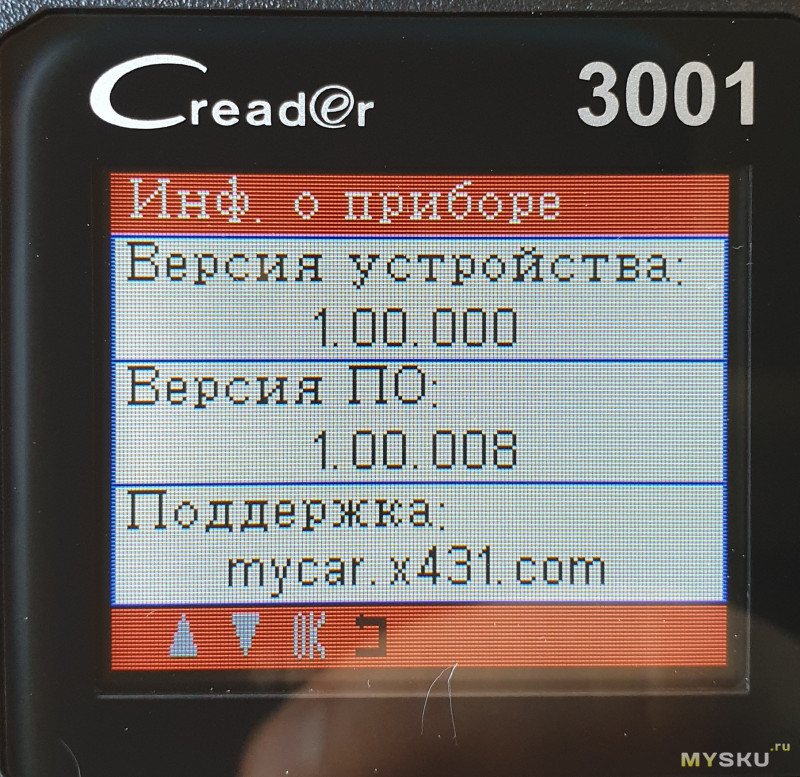
Ах да, забыл про меню „Информация о приборе“! Здесь описаны версия устройства, прошивки и сайт поддержки:
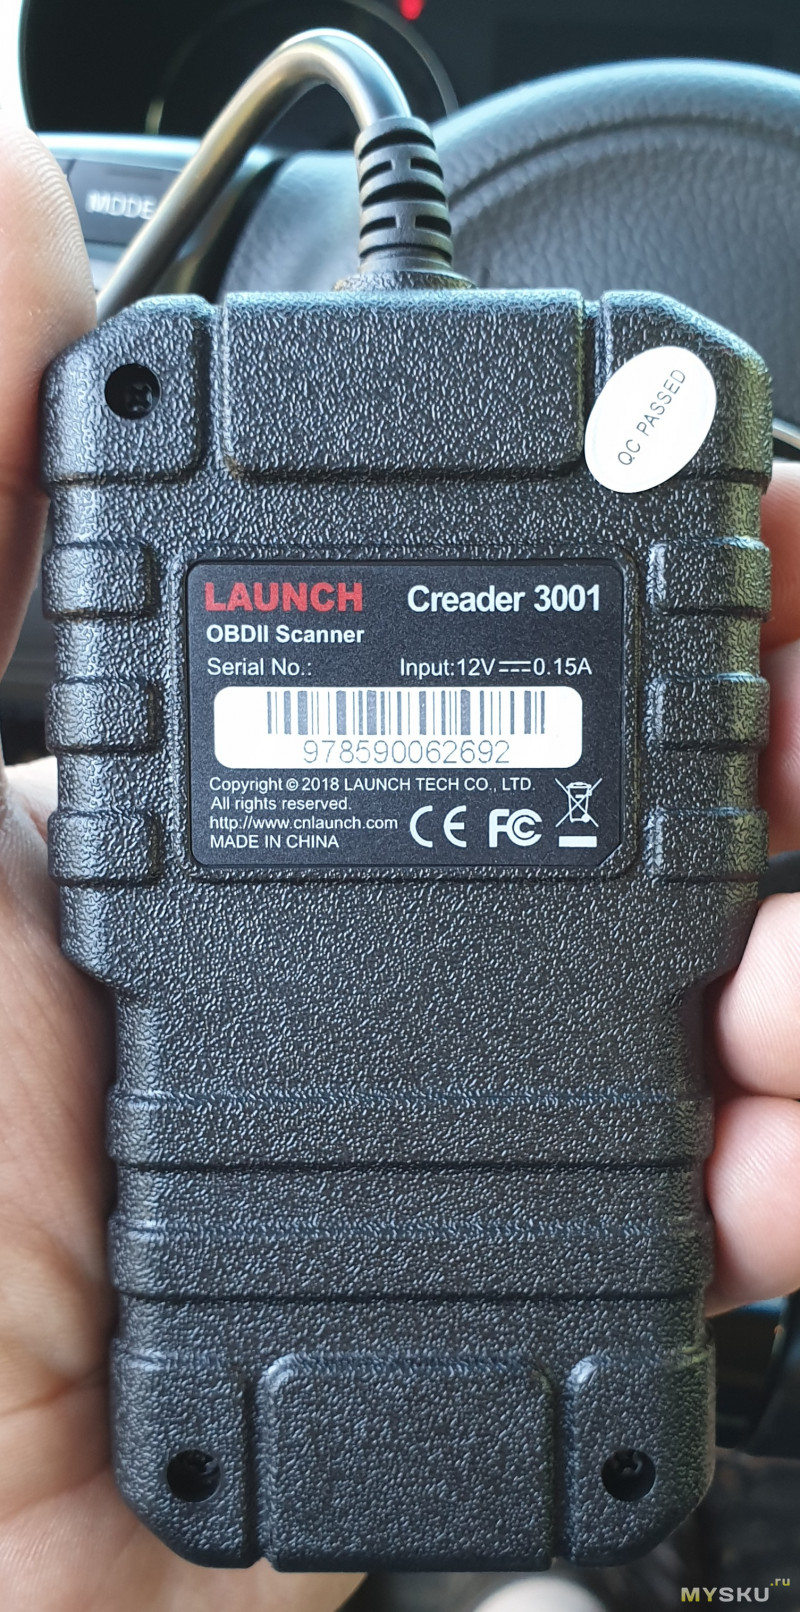
Немного о физических характеристиках устройства. Изготовлено из жесткого текстурного не скользкого пластика. Имеет эргономичную форму, удобно держать в руке. Размеры с сайта:118 мм * 68 мм * 22,3 мм. Вес: <200 г. Экран 1,77 „TFT, 160*128 точек/дюйм.
Девайс мне очень понравился своим функционалом и удобством использования. Из минусов хочу выделить только отсутствие собственного питания, хотя бы для того, чтобы можно было посмотреть пункты меню “Помощь» не подключаясь к машине и невозможность обновления прошивки устройства.
Напомню, что пишу здесь первый раз. Возможно, что сумбурно и что-то упустил. Если у вас возникнут вопросы, задавайте, я постараюсь ответить. Спасибо!
UPD. Добавлю комментарий специалиста под ником uncle_sem, чтобы заранее расставить точки над некоторыми «i»:
«если позволите — мнение от автодиагноста 
во-первых, хочу сразу заметить, что считаю обзор вполне полным, информативным и аргументированным.
во-вторых сканер конечно xpeнь, но как за 15 баксов — то и пойдёт. важно понимать, что это ЧИСТО ОБД-2 сканер, то есть двигатель, коробка если она автомат (и то наверно не всегда) — и всё. ни абс, ни подушки, ни другие системы им не почитать.
но при этом это вполне брэндовая ошибкочиталка, без необходимости настройки, скачивания софта и прочего. ткнул и почитал. фактически, при стоимости «диагностики» в 10 баксов (а диагностикой всё еще продолжают называть чтение ошибок) — данная коробочка окупается уже со второго раза. при этом «в умелых руках — и х. балалайка» и вполне можно и этой вот фигнёй диагностировать машины. да, не все машины, не все системы и не все неисправности. но изрядную их часть. а дальше уже начинаются марочные сканеры, либо «марочный» софт под елм и прочие недорогие адаптеры. и такого софта не сказать чтобы много.
ах да. себе бы я такой не взял, но елм у меня есть и без дела он не лежит. при том что парк сканеров довольно обширный.»
LAUNCH
The CReader 3001 is specially developed by LAUNCH, which support all 10
modes of OBD II test for a complete diagnosis. Featuring the 1.77″ color LCD, it
enables users to read/clear DTCs, record and save data. The CReader 3001 is
also very easy to use. With built-in help menus and code definitions, diagnosing
and repairing that dreaded Check Engine Light is now easier than ever!
Moreover, CReader 3001 also features the following bi-directional «special tests»:
EVAP, O
Sensor, I/M Readiness, MIL Status, VIN Info, and On-board monitors
2
testing.
It can be connected to PC through the USB cable for upgrade to keep updated
with the latest software version.
Note: CReader 3001 may automatically reset while being disturbed by strong static
electricity. THIS IS A NORMAL REACTION.
This tool is specially designed to work with all OBD 2 compliant vehicles, including
Controller Area Network (CAN). It is required by EPA that all 1996 and newer
vehicles (cars and light trucks) sold in the United States must be OBD 2 compliant
and this includes all American, Asian and European vehicles.
A small number of 1994 and 1995 model year gasoline vehicles are OBD 2
compliant. To verify if a 1994 or 1995 vehicle is OBD 2 compliant, check the
following:
1. Vehicle Emissions Control Information (VECI) Label. It is located under the
hood or by the radiator of most vehicles. If the vehicle is OBD 2 compliant, the
label will designate «OBD 1I Certified».
2. Government regulations mandate that all OBD 2 compliant vehicles must have
a «common» 16-pin Data Link Connector (DLC).
1
User’s Manual
3001
Преимущества данного сканера — доступная цена, в первую очередь. Стоит — 2 400 р. Удобен в эксплуатации благодаря небольшим размерам.
Launch CReader (Лаунч С-ридер) 3001 предоставляет диагностические функции OBDII/EOBD и соответствует протоколам, таким как: ISO9141-2, ISO14230-4, SAEJ1850, и ISO15765-4.
Что умеет данный автосканер?
— Чтение и удаление кодов
— Живые данные (потоковые данные)
— Стоп-кадр
— Тест датчика кислорода
— Бортовой монитор
— Система EVAP 10.
Поддерживается Русский язык, а также: английский, французский, испанский, немецкий, итальянский, португальский
Технические характеристики:
Экран: 1,77 » TFT, 160*128 точек/дюйм
Диапазон напряжения: 9-18 В
Рабочая Температура: 0℃ -50 ℃ (32 ℉ -122 ℉ )
Температура окружающей среды:-20 ℃ -70 ℃ (-4 ℉ -158 ℉ )
Размер: 118 мм * 68 мм * 22,3 мм (4,65″ * 2,68 » * 0,88 » )
Вес: <200 г
Поддержка автомобилей:
Американский рынок:
Требуется стандарт OBD2 машины с 2000 г. по н.в.
Chrysler, Ford, GM, Jeep
Европейский рынок:
Требуется стандарт OBD2 машины с 2003 г. по н.в.
Alfa romeo, SAAB, Acura, Opel, Audi, Пежо, Рено
Bentley, Skoda, Daewoo, Benz, Daihatsu, Land Rover, BMW, Vauxhall, Citroen, Volvo, Fiat, VW, Ford, Jaguar
Японского автомобиля:
Требуется стандарт OBD2 машины c 2005 г. по н.в
KIA, Isuzu, Honda, Mitsubishi, hyundai, Dacia, Lexus, Mazda, Nissan, Subaru, Suzuki, Toyota
Китайские машины:
Требуется стандарт OBD2 машины с 2009 по н.в
98opt.ru/kypit/product/av…stiki-launch-creader-3001


